Showing posts with label silver. Show all posts

Dazzling Holiday Banners and Glitter glitter Every Where.....

Hellooooo darlings! So sweet of you to drop by!

Holy Mackanolie! Is time flying by for you too? I desperately need it to slowwwww down a bit!

I'm no where near getting any holiday decorating done. Been much to busy with other things...such as....


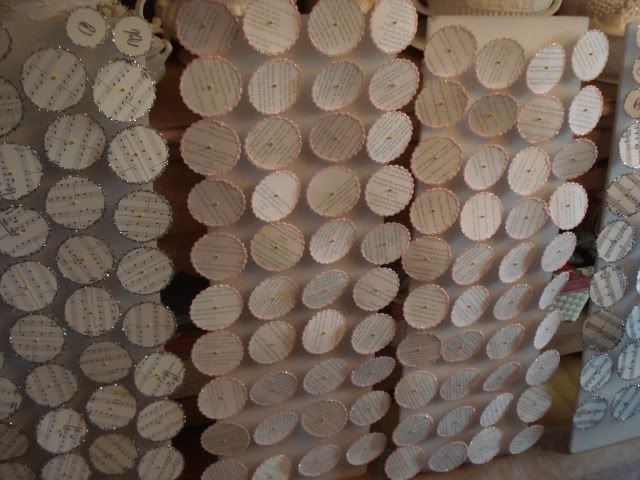
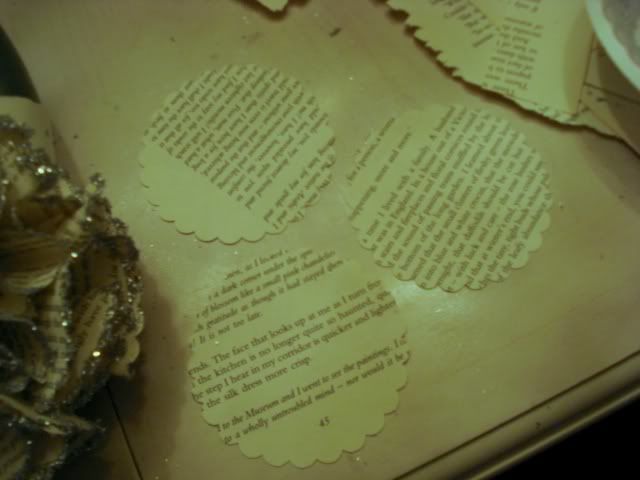
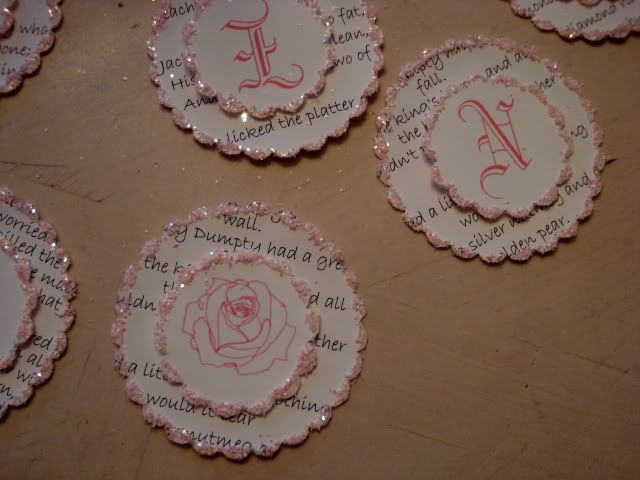
The pink glittery ones are for a custom order, nursery rhymes with soft pink glittery edges.


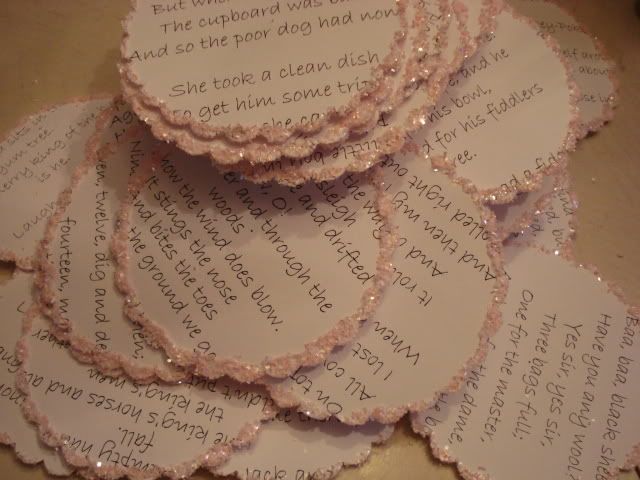
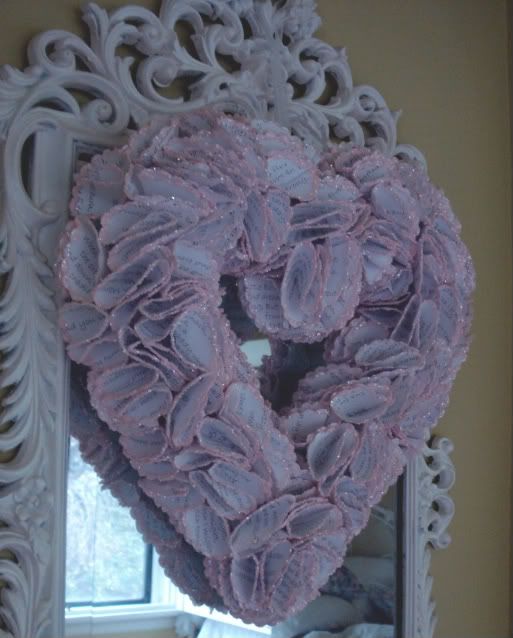
It came out soooo pretty!

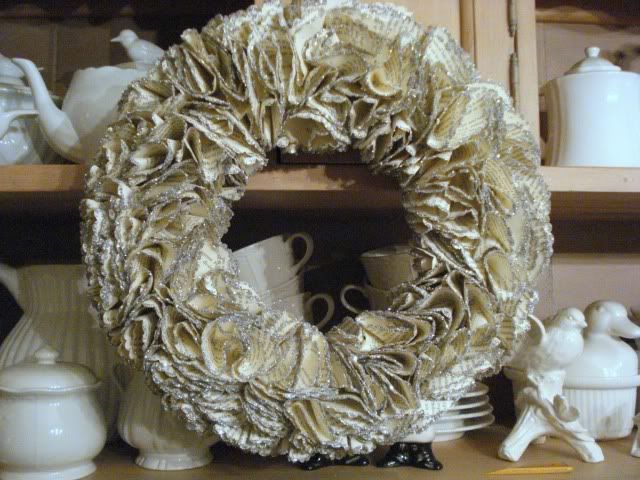
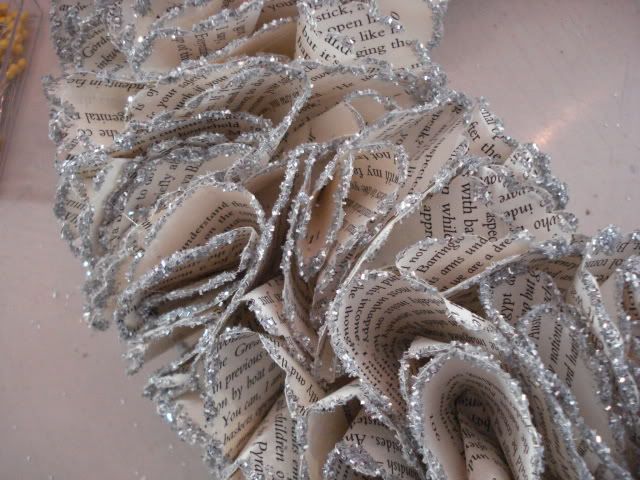
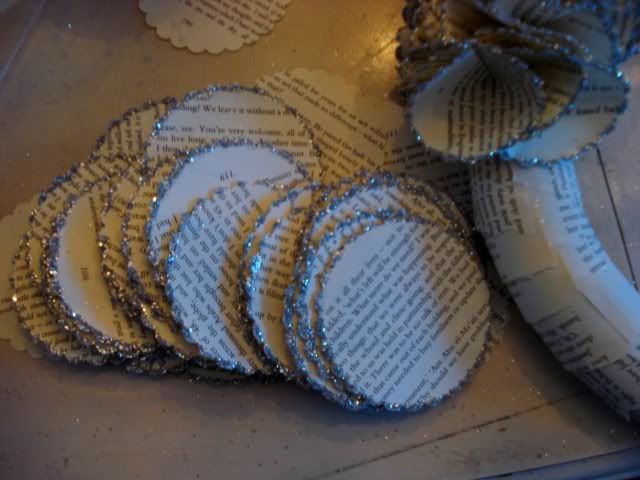
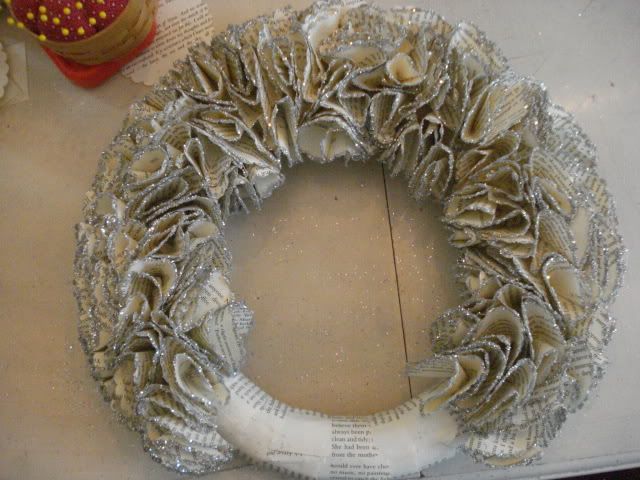
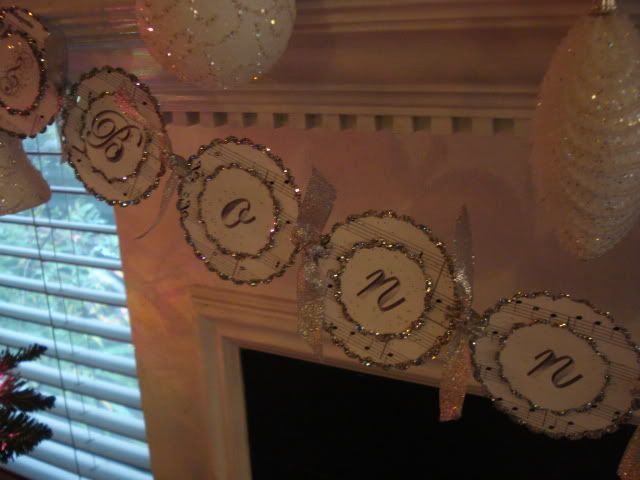
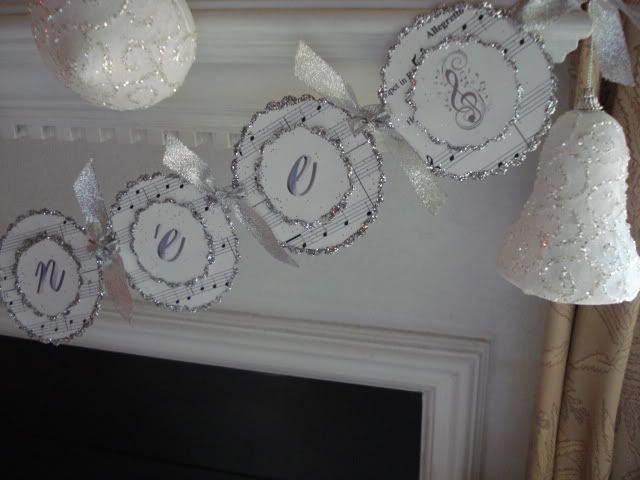
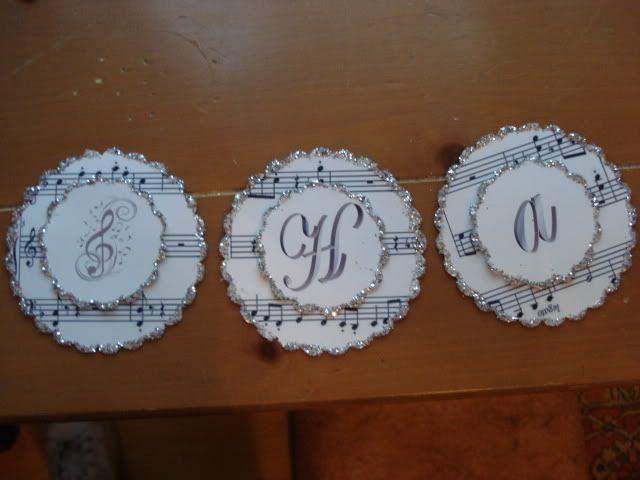
I also had a custom order (via email) for a christmas and a new year banner, hence the silver glitter florettes.


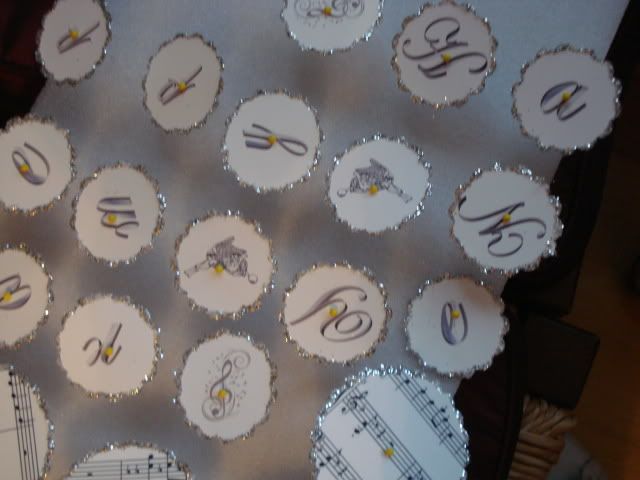
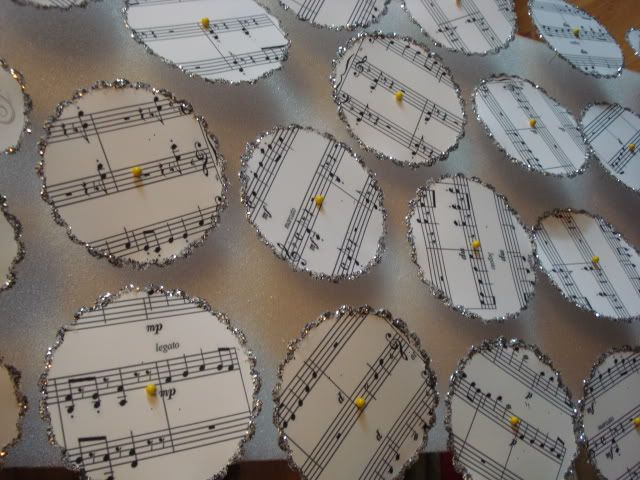
The sheet music is Auld Lang Syne. (how appropriate ha!)

One side, Joyeux Noel and the other, Bonne Annee. Sadly, I didn't get a chance to snap a photo before I shipped it off, but I do have pictures of this one to share.....


I just listed it on in my Etsy shop. I will be offering a few more, in french and english versions...


Not enought time so I'm only making a few, so grab em while I got em ha!

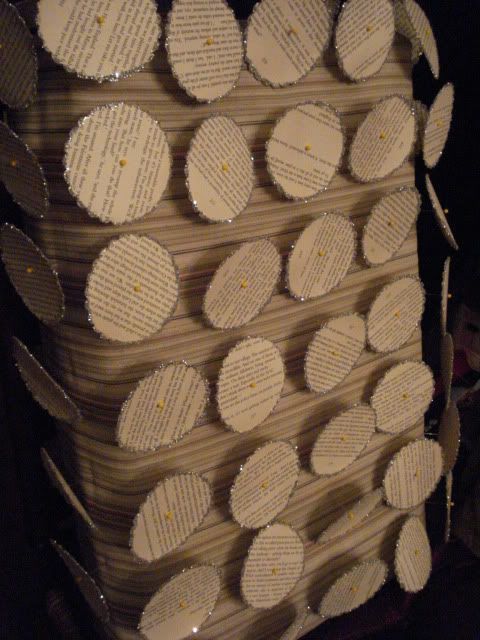
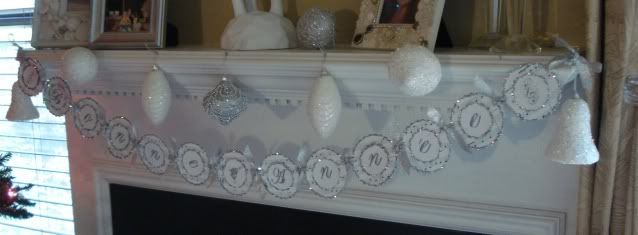
While I was at it, I made up another adorable banner...I can't show all of it because the customer hasn't received it yet (it's a surprise)...


I really wanted to do all white and silver for this holiday, but mama wants a tree and traditional holiday decor. What mama wants, mama gets! ha! She's 84, she's entitled to call the shots.

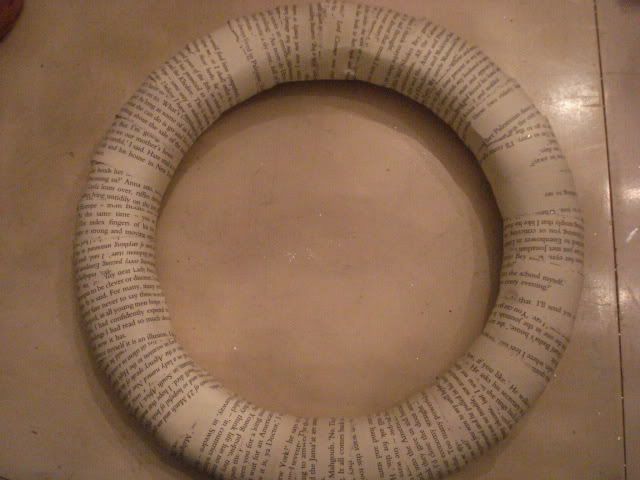
This is as far as I got yesterday.


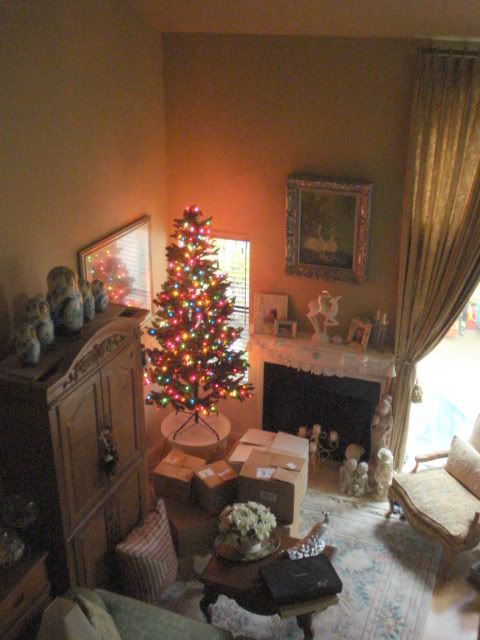
Now I need to change my vision of white and silver to more traditional colors for the mantel. c'est la vie


I've seen so many lovely decorations going on in the blogosphere! I am so jealous you clever people got an early jump on it!

So tell me, whose's been naught and who's been nice? ha!

Thanks so much for stopping by!

If I don't get a chance to see you til next year, I'm sending you big hugs and smoochies and wishing you and yours a very Merry Christmas and a Happy New Year!

Linking up with:

Cheers!

MY SPIN ON A BOOK WREATH

Ellooooooo! So sweet of you to stop by! I hope all is happy and well in your world!

I'm sure you've seen the book wreaths that have been making the rounds here in our blogosphere. Well, I've finally gotten around to making one myself; but, with my own little spin on it ha!

BUT FIRST! let me preface that my photos are horrid! My terrible indoor light and my poor little camera was a bad bad combination. So why post? I dunno...ha!

Ok, here's the best photo I could get so far.


A close up


a futile attempt to show you the UNBELIEVABLE sparkle (with a blurred photo)


I even attempted a video to show how stunning it is...sad to say it failed miserable.

Ok, enough of my pity party. ha!

For those of you who want the nitty gritty behind the scenes stuff; read on!

I used a 10-in green styro wreath form and covered it with book pages


Ripped out tons of book pages (a romance novel from GW for $2.39)

Next, I got my handy dandy MARVY 3.5" scalloped punch


punched out loads of these


Glittered up their scallopy edges (first dipping the edges in glue and rolled them in fine German Glass Glitter glass).

WE INTERRUPT OUR REGULARLY SCHEDULED QUICKIE TUTORIAL FOR THE FOLLOWING CONFESSION:

I was so anxious to see how the glittered book florettes would look I totally cheated, but just a wee bit...


Ha!

Ok, where was I?! oh yeah...

Here they are are drying and I'm waiting...waiting...waiting


waiting...

Once they were dry I folded (without creasing them) then and glued them on the wreath form with my trusty glue gun.


Originally I made 150 glittered edged book page florettes. Oddly enough...I didn't have enough. This is as far as I got


So I glittered up another 130 florette edges and called it a night.

Next morning, it took another 50 to finish the wreath.


Not counting breaks and drying time (oh and the burnt finger tips ha!) it took about 8 hours to complete. BUT, it truly is dazzling and therefore so worth it! I will be making one with red glittery tips, one with gold tips and green! Should be on my etsy in a few days.

So what might I be doing with the remaining 80 florettes you ask. Well, I did cover up this 3.5" styro ball with some pages...


If you are thinking ornament...ummm not this time. But here's a clue: pucker up baby! sookie sookie! ha!

I will be posting a more thorough tutorial in the very near future. I just need someone to take the picture of how I folded each florette.

I'm hooking up with these fabulous hosts!


Chic on a Shoestring Decorating

Be sure to check out the other participants!

Have a wonderful weekend! Thanks for visiting! See you soon!

Cheers!