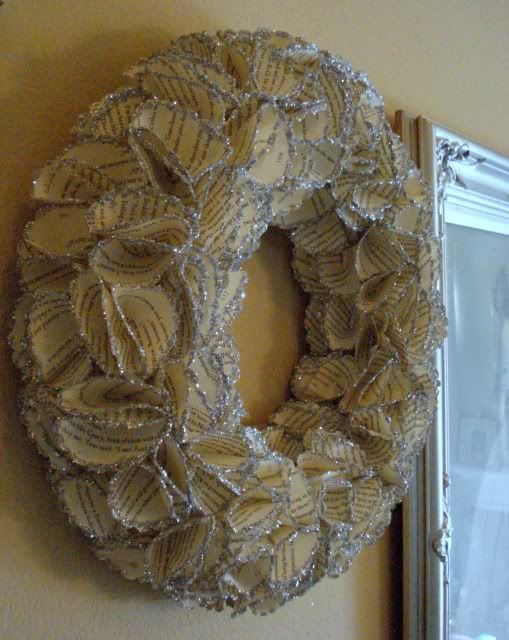
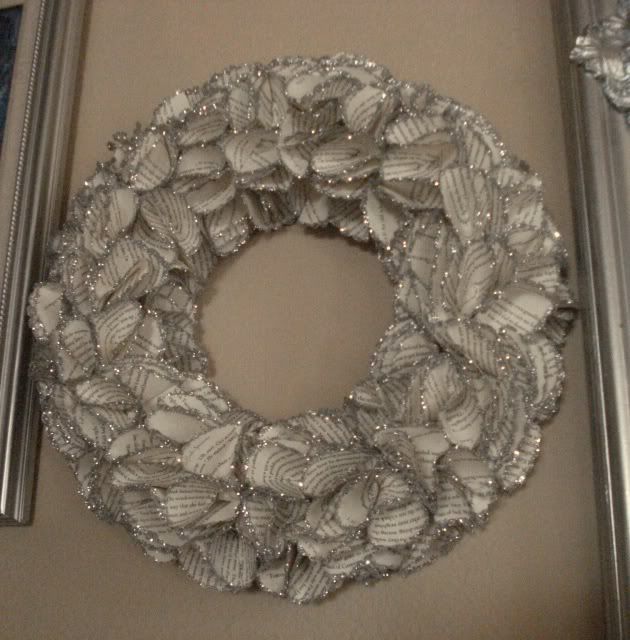
As I promised, here is the step-by-step tutorial for creating a shimmering book page wreath using punch out florettes!
These wreaths are dazzling! There is so much to love about this type of wreath (plus you are recycling ha!)! I could go on for ages about how stunning these are, but maybe you should just make one...yes?!
Supplies needed:
Wreath form (any shape you desire)
Paper Punch (florette) I used a 3.5" punch
Book Pages (approximately 150)
Glue gun & glue sticks(low temp saves burned fingers)
Glitter* - any type works
Glue or glitter glue* (If you want a very subtle edge of glitter, then glitter glue alone will be fine.
Sewing Pins
*If you want a very subtle edge of glitter, than glitter glue alone will be fine.
Considerations before you begin:
You will need to dry the glittered edge florettes before you apply them onto the stryo wreath form; therefore, you will need a place to dry the florettes where smearing and smuging won't be a problem.
I use sewing pins and a styrofoam board to dry my florettes. I keep the boards vertical and the pins keep the florette from resting against the board.
The glitter gets EVERYWHERE.
Using newspaper or plastic sheeting to cover rugs/floors/carpeting will be very useful in clean up.
CREATING FLORETTS:
Tear full pages out of book paying special attention to both sides of the pages.
Punch out florettes from book pages; you should be able to get two (2) florettes per page.
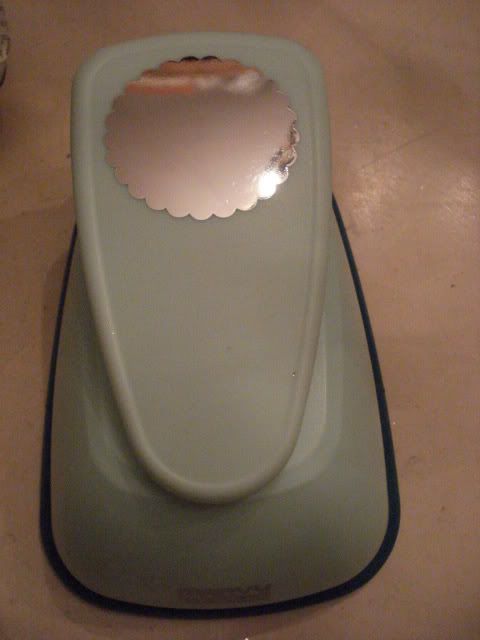
You should yield two (2) florettes per page
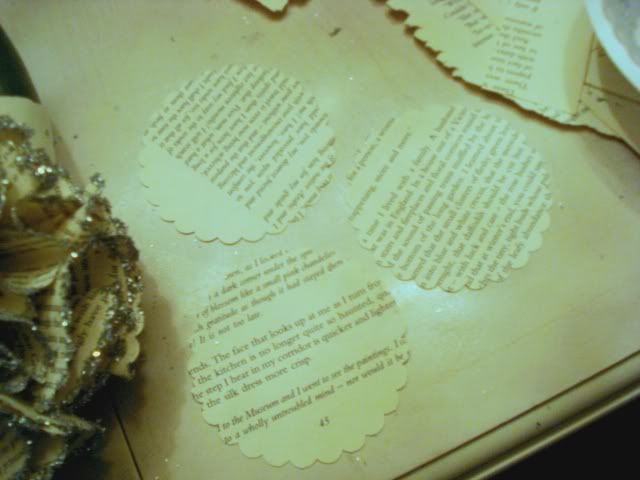
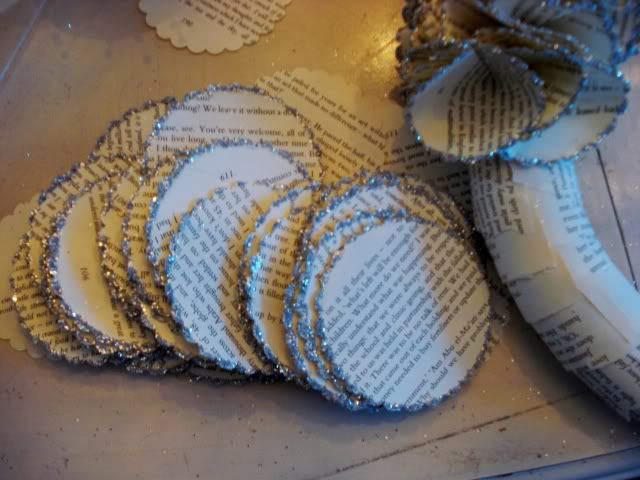
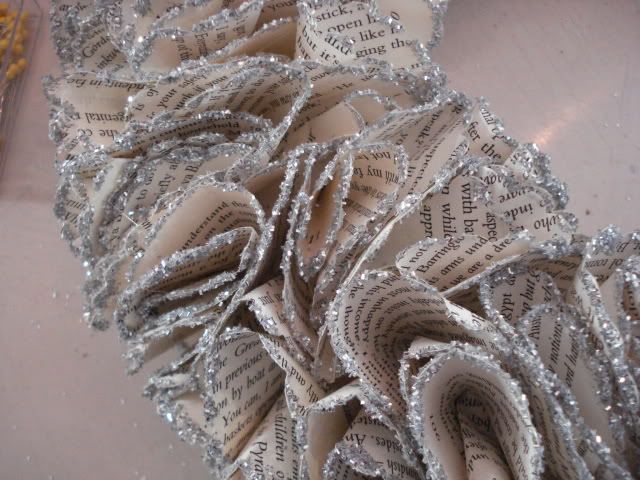
Add glitter to the edges of florettes by dipping the edge of the florette in the glue (or glitter glue)

then roll the wet edge in the glitter

Sorry, I forgot to take the photos when I was glitzing up the florettes with silver!
Allow the florette edges to dry (approximately 3-6 hrs.)
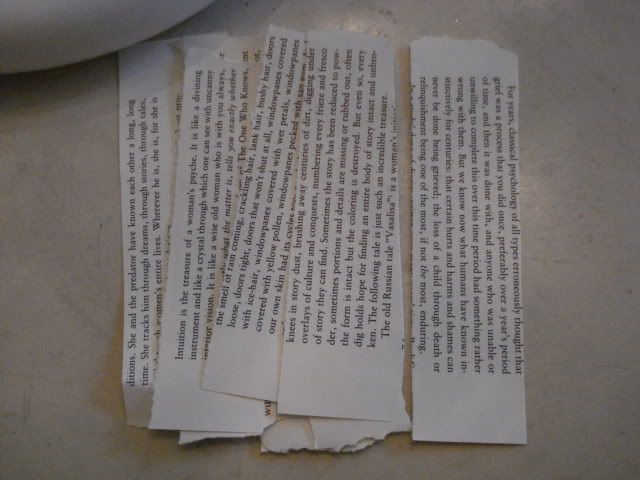
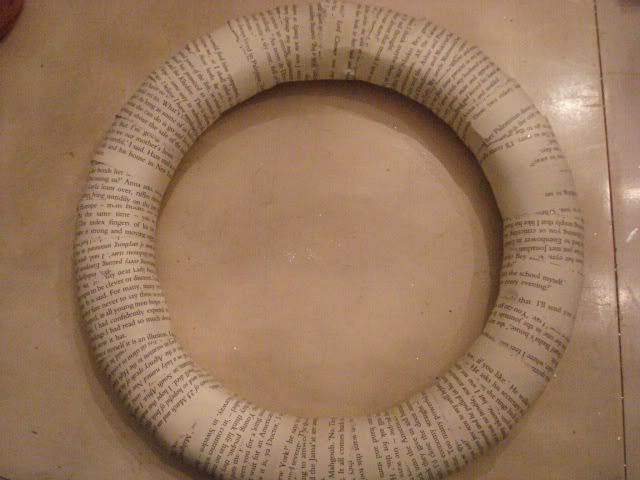
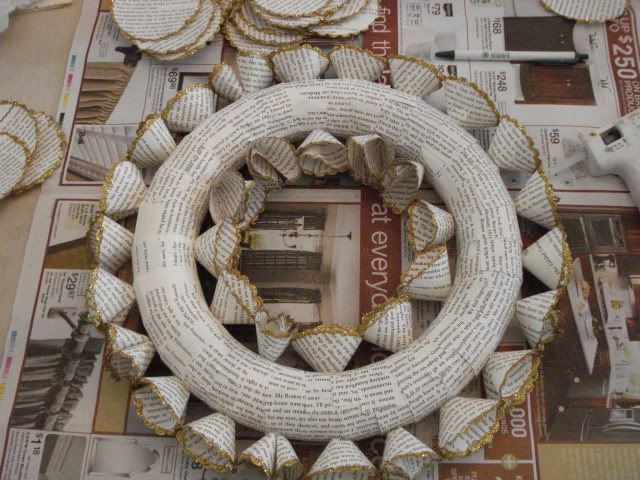
Cover wreath form with book pages. Tear out a full page, then tear the page into smaller strips. (I use a ruler to guide the tear of each strip)
Take care to glue the ends together on the SAME side of the wreath
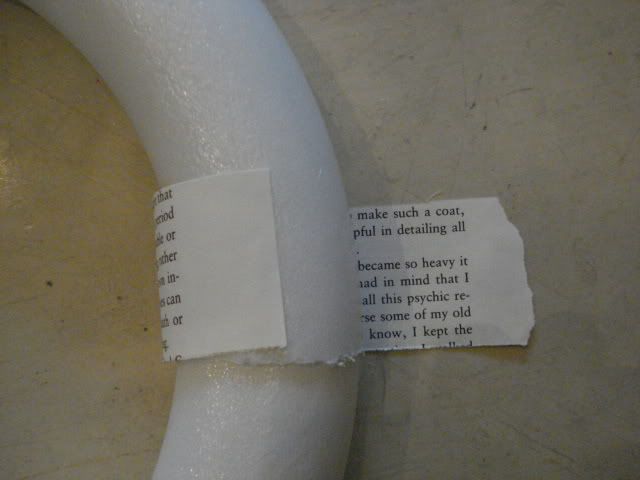
Slightly overlap each subsequent strip
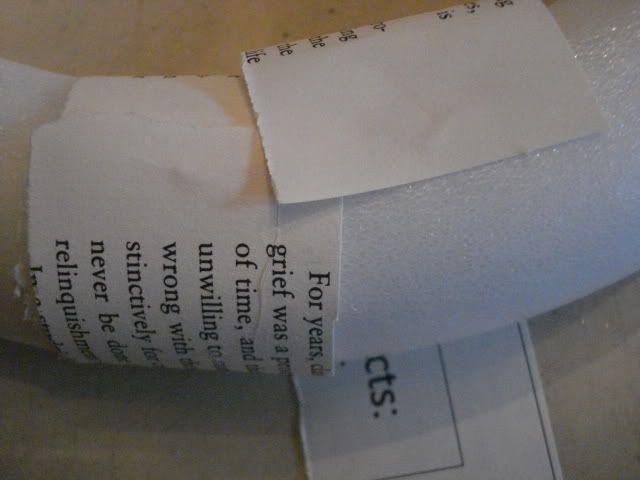
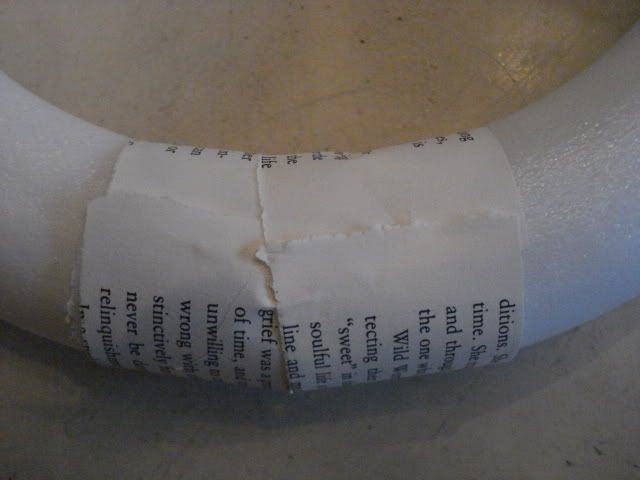
Again, be sure to glue the strip on the same side of the wreath.
The side with glued edges to be covered by the florettes
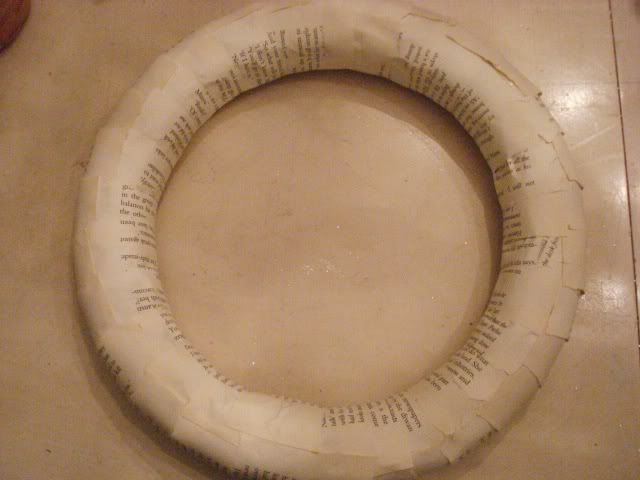
This is the non-glued seams side that will be the back of the finished wreath.
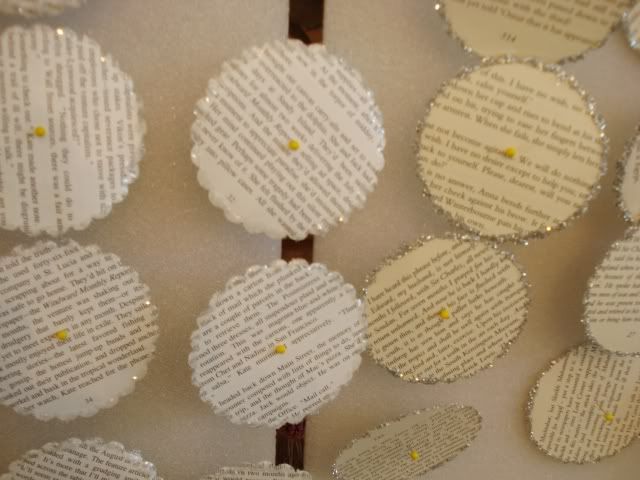
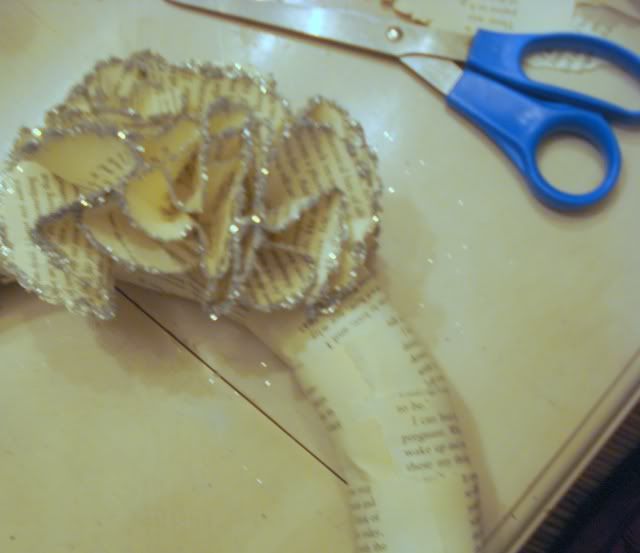
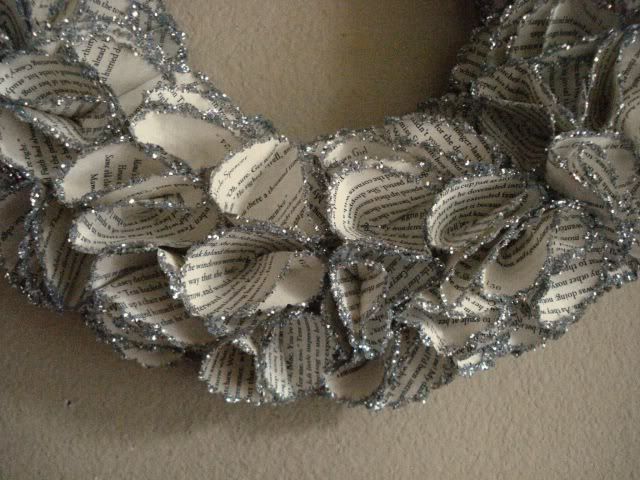
Applying Florettes
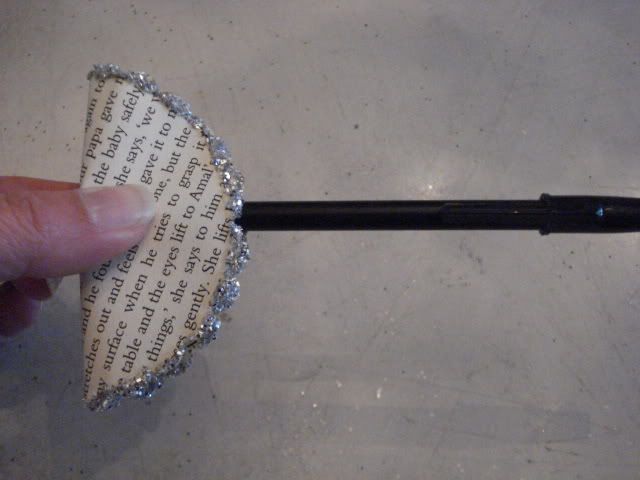
Gently fold florette in half WITHOUT creasing the folded edge.
I use the end of a pen to accomplish this. So very high-tech! ha!
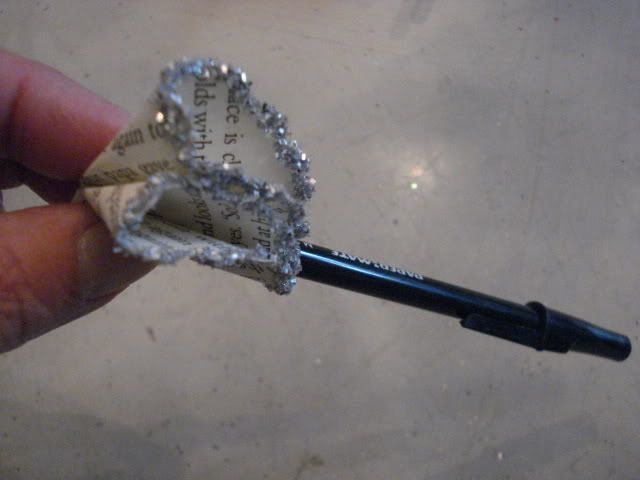
Then fold once more taking care not to crease the fold
Next, crush the pointed tip and apply to wreath form with a small amount of glue from your glue gun.
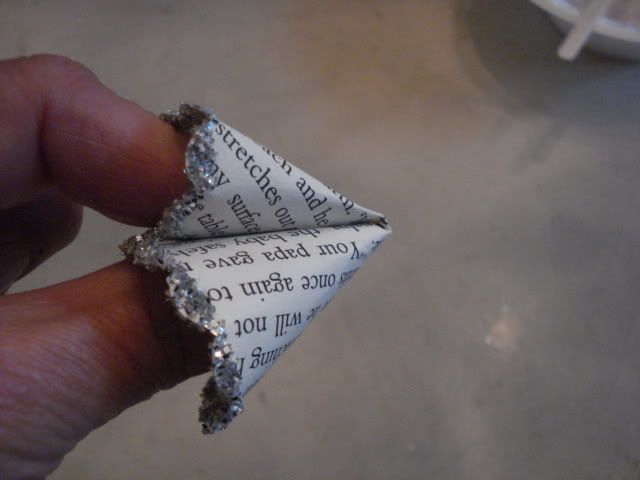

Apply the glue to the crushed tip and set in place.
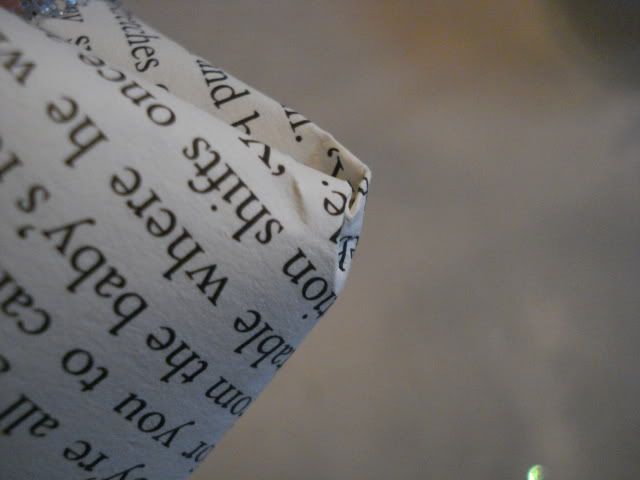
Continue applying florettes until covered.
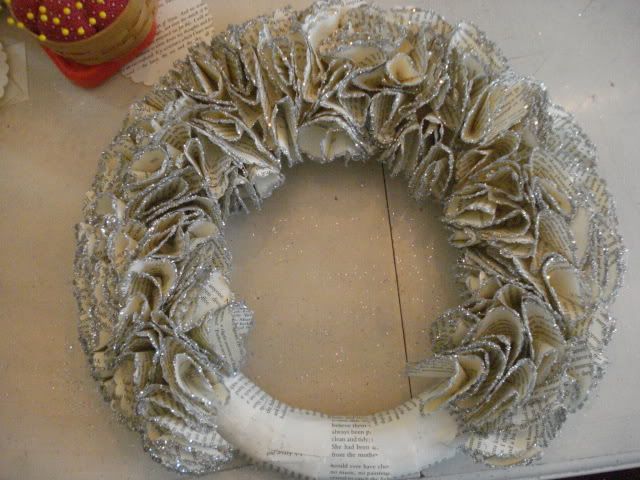
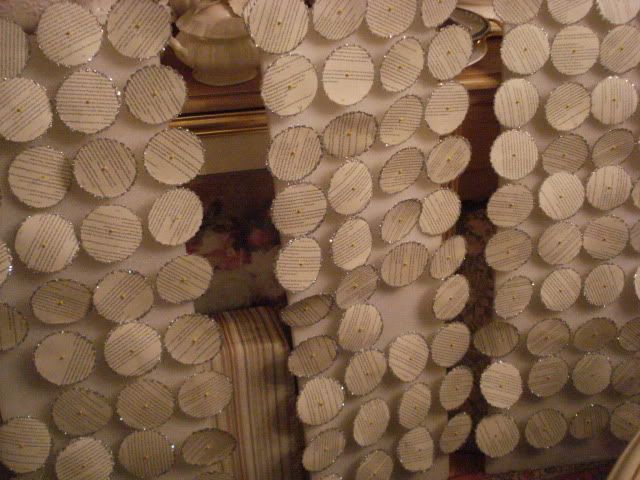
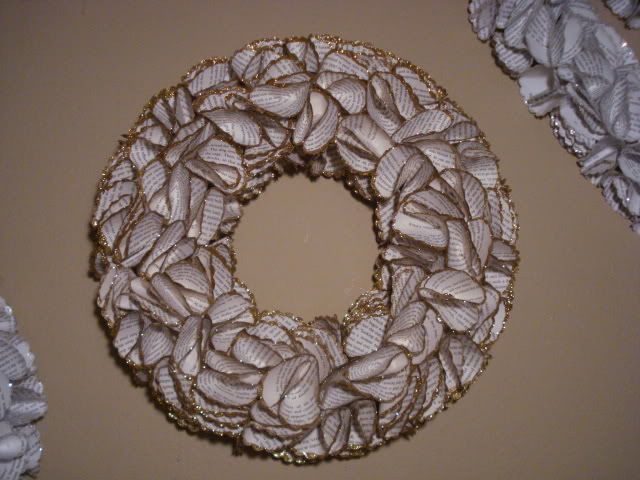
At this point, you can apply as many as you like. This 12" wreath form needed about 250 florettes
This 12" wreath form, 120 florettes
The fewer florettes the more visible the words will be.
After having made several, I prefer to lay the wreath form flat on the table and apply the floretttes to the inside and outter edge of the wreath form first. The table acts as my guide to prevent me from scrunching the florette against it.
This way the wreath will be flat against the wall when you hang it.
Last step! Create a hanger by gluing a strip of decorative ribbon and a sewing pin.
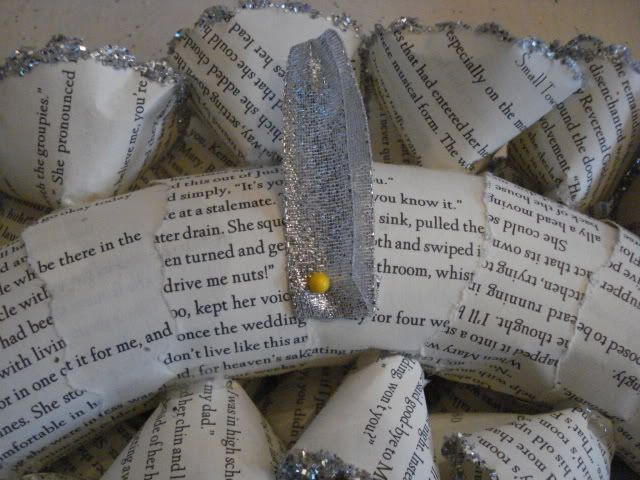
I like the bright collored tip on the pin, makes it easier to see when you are trying to hang it!
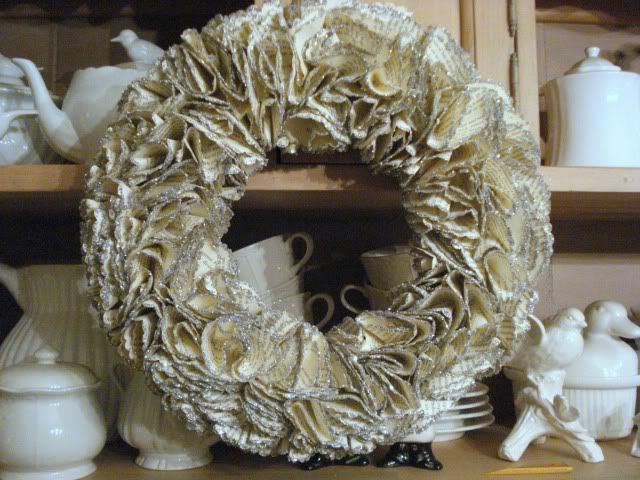
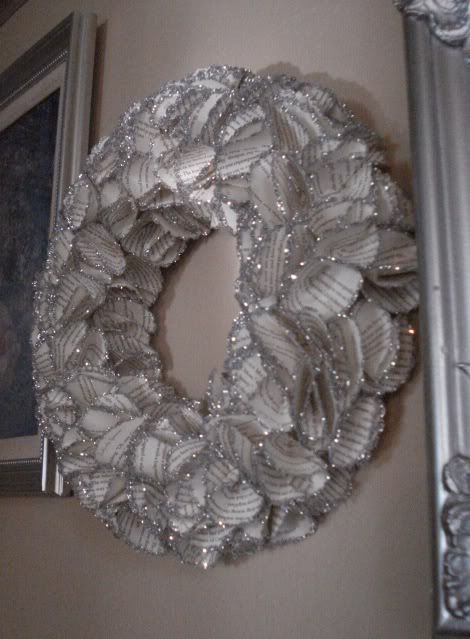
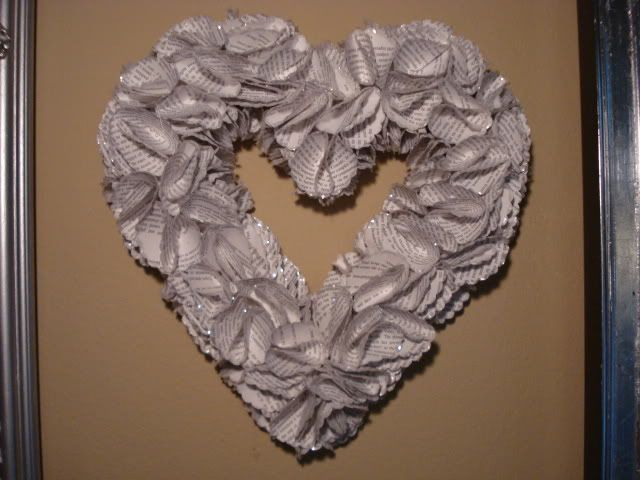
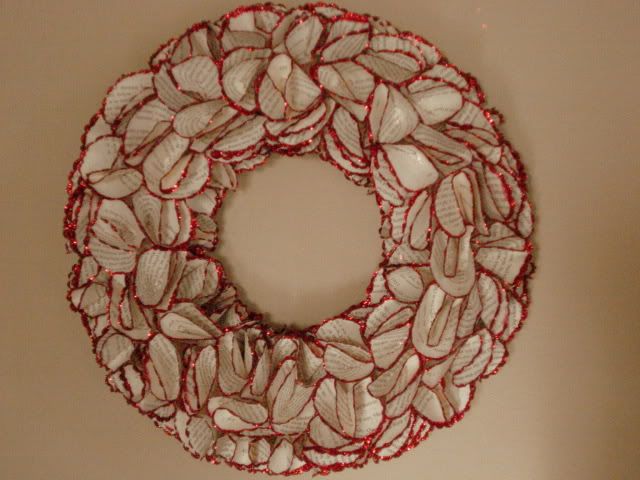
There you have it! You can use any color glitter, you can make one for the holidays, add decorative ribbon and bows, the possibilities are endless!
Using a 12" styro wreath form with 3.5" florettes will give you a 16" wreath.
Here are a few others I have made...

Have fun with it! Please do let me know when you make one! I'd love to see it!
Thanks so much for stopping by! It is always a thrill for me to read your wonderful comments!
I'm linking up with these fabulous host! Be sure to view the other fabulous posts!


Frugalicious Friday @


Cheers!